Tasmota smart plug with ESP-02S
Introduction
In this article I will present you the path I follow in order to buy / configure the cheapest energy monitoring smart plug.
The final goal is to be free of any external cloud and store all data in a HomeAssistant instance.
In order to make all of this, you first need a Home Assistant instance and a working MQTT broker. In this article we will explore how to flash Tasmota in a cheap chinese smart plug.
What you need
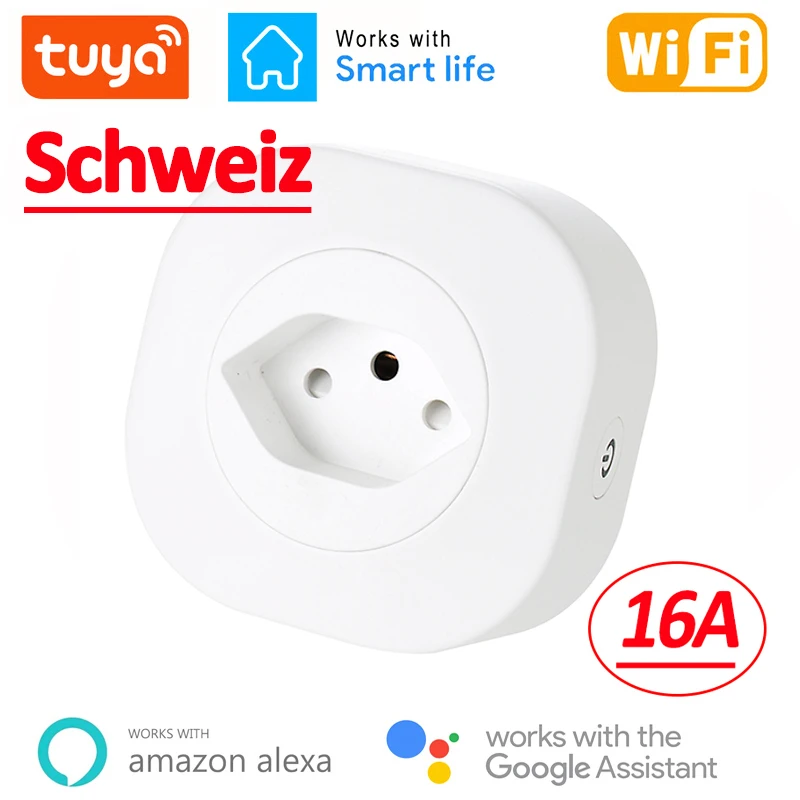
- WiFi Smart Plug 16A ($9.88)
 ESP-02S TYWE2S (> $4)
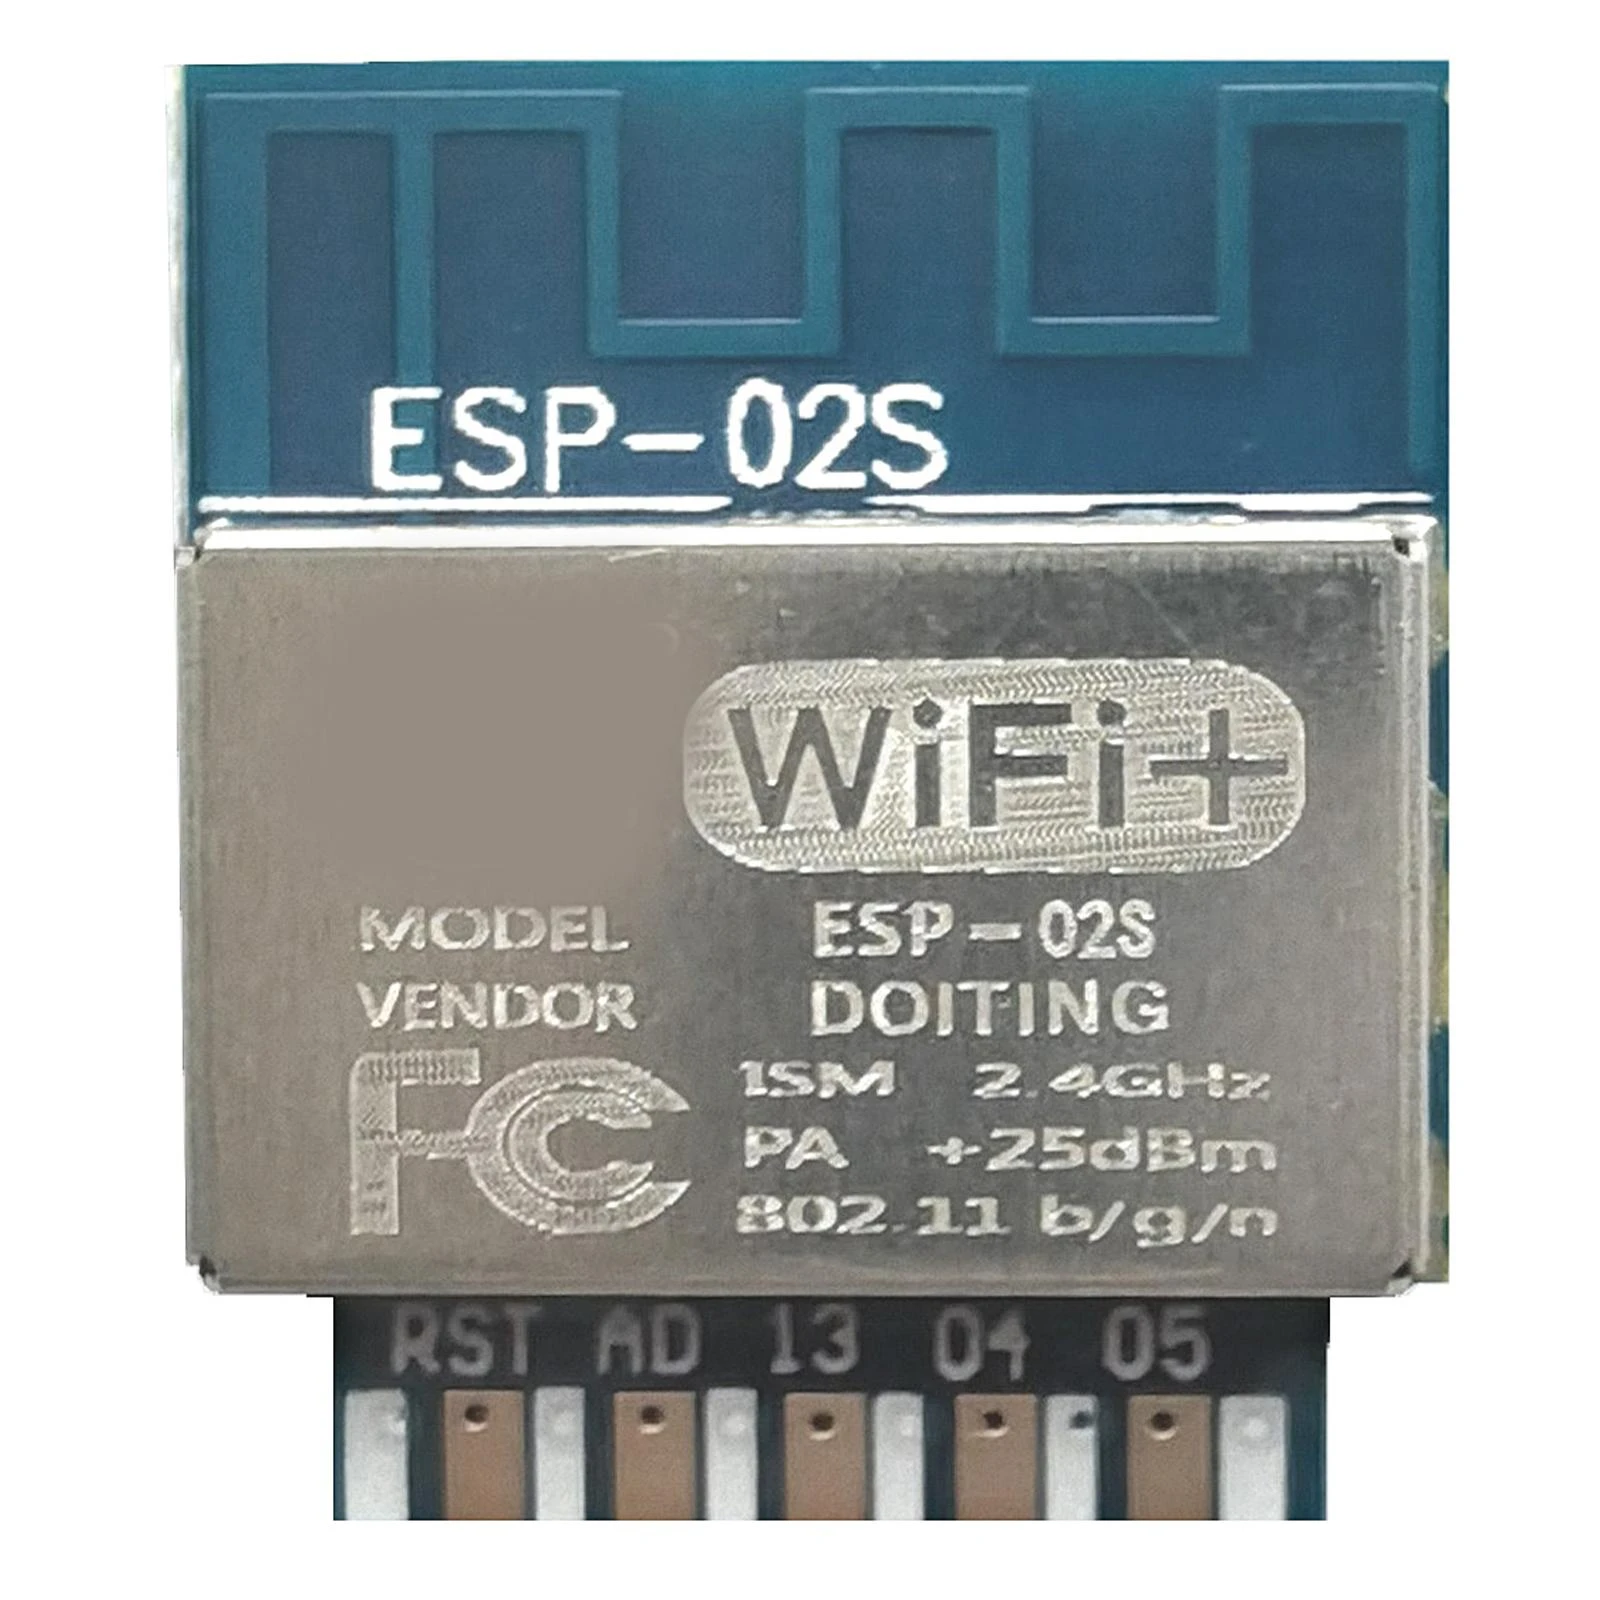
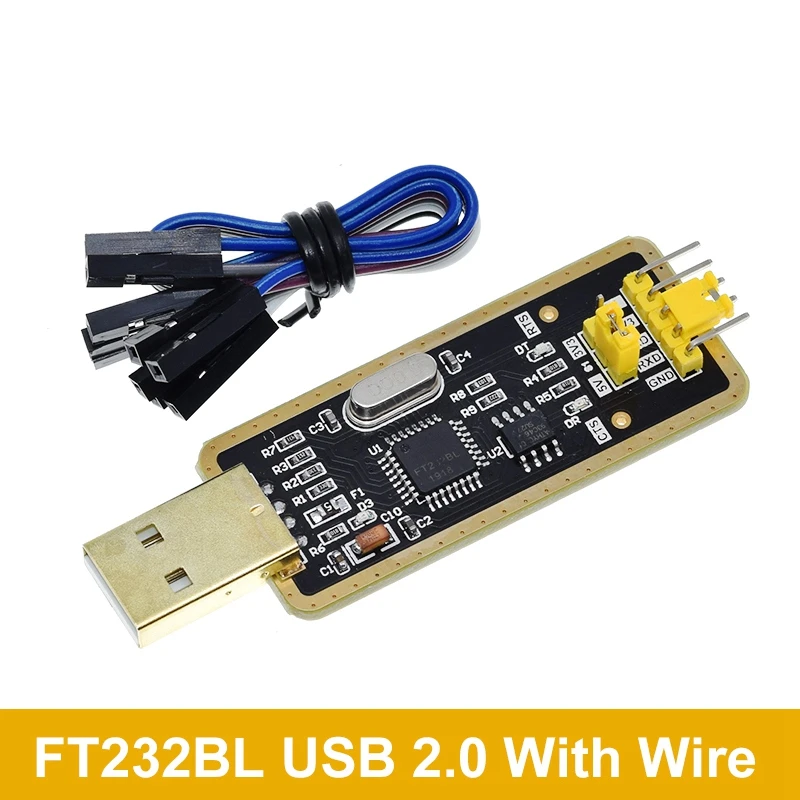
- ft232 usb adapter
- Welding tools and a computer
My first plan was just to open the plug, connect to the rx-tx connectors of the microcontroller in order to flash it with Tasmota using either the online tool (https://tasmota.github.io/install/) or using the wonderful Tasmotizer tool.
1st problem
I was expecting an ESP microcontroller but the chinese plug comes with an even cheaper microcontroller that is unfortunately incompatible with Tasmota…

Luckily there exists an ESP board that is pin to pin compatible: the ESP-02s.
Before switching the microcontroller, I first flash the ESP-02s with Tasmota.
Flashing
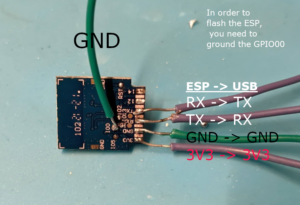
Then you can use the Tasmota online flashing tool that is OS independant.
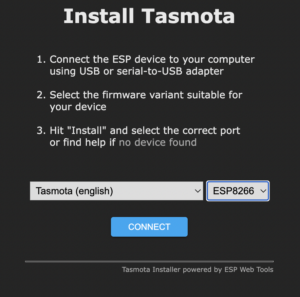
Then if you are not on Windows, you can connect to the ‘TasmotaXXX’ WiFi and configure your WiFi connection. On windows you can preconfigure Tasmota directly with Tasmotizer.

The only drawback with the ESP8266 is that secured MQTTS is not available compared to the ESP32.
The best way to switch the microcontroller is to use an hot air gun.
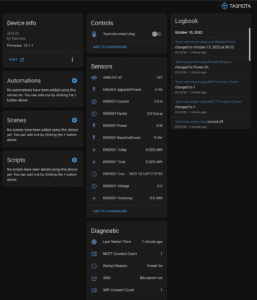
Once everything is soldered and back in the plastic enclosure. You still have to “configure” the ESP to tell it how to behave with this card.
Thanks to https://templates.blakadder.com/ihommate_ZCH-02.html, I didn’t have to search too much and just configure the device with the following config:
{"NAME":"ZCH-02","GPIO":[0,0,0,17,133,132,0,0,131,56,21,0,0],"FLAG":1,"BASE":18}Calibration
Final result
Link (sources):